Navigating Windows 10’s Memory Integrity Feature
Memory integrity is an important security setting in Windows 10 and 11 that helps protect critical system processes. When enabled, it can prevent malicious code from hijacking those processes in the event of an attack. But should you turn memory integrity on or off? We’ll examine the key factors to consider.
Understanding Memory Integrity
Memory integrity utilizes virtualization-based security (VBS) to isolate and protect critical Windows processes from unauthorized code execution. This involves running the processes in a virtual machine separated from the operating system. So if malware does manage to get onto your system, it can’t tamper with those secured components.
Microsoft first introduced the memory integrity feature in Windows 10’s April 2018 Update. It’s now enabled by default in new Windows installations starting with version 1903. But for systems upgraded from older versions of Windows, memory integrity remains off until manually activated.
Does Windows 10 have memory integrity?
The feature known as “Memory Integrity” in Windows 10’s interface is also known as “Hypervisor protected Code Integrity” (HVCI) in Microsoft’s documentation. Memory Integrity is disabled by default on PCs that upgraded to the April 2018 Update, but you can enable it. It will be enabled by default on new installations of Windows 10 going forward.
How do I enable core isolation’s memory integrity in Windows 11?
Here’s how to enable Core isolation’s Memory integrity using Windows Security Defender. Click Windows 11 Start and type “ Windows Security ” and press Enter. Go to Device security and click Core isolation details. Under Core isolation, make sure the Memory integrity toggle is turned on.
The Benefits of Enabling Memory Integrity
Turning on memory integrity hardens your system security by making it significantly more difficult for malware to compromise critical Windows processes. This prevents techniques like code injection from granting malware elevated privileges on your computer.
With memory integrity active, only digitally signed drivers and applications can load into protected processes. This authentication requirement blocks malicious code from infiltrating these components. Memory integrity also utilizes hardware-based Devuvo security to protect firmware and pre-boot components.
Overall, enabling this feature greatly reduces the attack surface malicious actors can target to subvert the security of your Windows installation. And that translates into better protection for your data and applications.
Potential Drawbacks of Memory Integrity
However, running processes in an isolated virtual environment can cause compatibility issues – particularly with older hardware and third-party software. Memory integrity relies on virtualization capabilities that may not be present on aging hardware lacking recent firmware and driver updates.
What are core isolation features?
Core Isolation feature include Memory integrity and Kernel-mode Hardware-enforced Stack Protection What is Memory Integrity? Memory integrity, also known as Hypervisor-protected Code Integrity (HVCI) is a security feature in Windows that makes it difficult for malicious programs to use low-level drivers to hijack your computer.
How to enable memory integrity in Windows 10?
You can enable memory integrity by following the below steps: Press Start, type “Windows Security” and hit Enter. Click on Device security in the left pane. Under “Core isolation”, click on Core isolation details. You can change your notification settings at any time from the Settings app.Change notification settings in Windows
How do I use memory integrity in Windows 10?
Memory integrity, which is a part of Core isolation, uses hardware virtualization and Hyper-V to prevent attempts to inject and run malware in Windows kernel-mode processes. In order to use core isolation’s memory integrity feature, follow these steps: Open Settings. Navigate to Update & Security > Windows Security. Click on Device security.
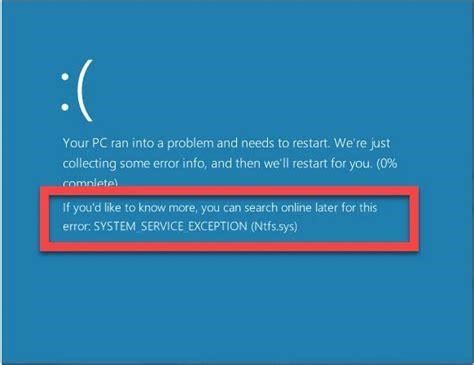
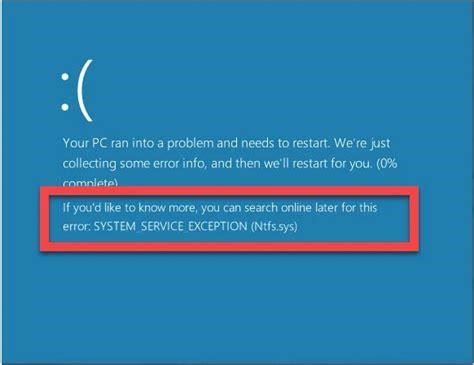
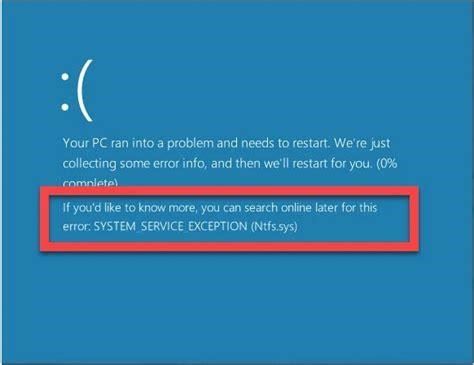
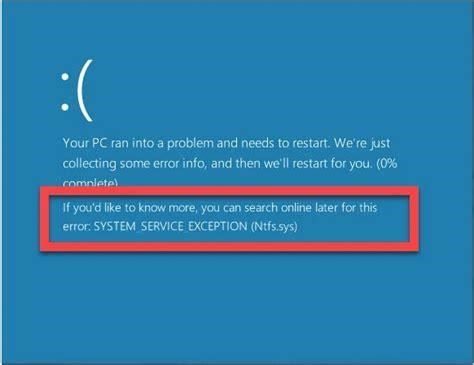
Certain antimalware programs and virtualization platforms are also known to conflict with memory integrity. When problems do occur after enabling the feature, you’ll typically see error messages about drivers failing to load.
Performance overhead from the virtualization can additionally impact gaming and applications requiring real-time precision. Some users report stuttering, freezes, and input lag after activating memory integrity.
Deciding Whether to Enable Memory Integrity
Given the potential compatibility pitfalls, determining whether to activate memory integrity depends largely on your use case:
For productivity systems and business computers dealing with sensitive data, the hardened security usually outweighs any performance impact. Keeping devices malware-free is also a top priority here.
But for gaming rigs and home theater PCs where graphics and latency are paramount, disabling memory integrity avoids compatibility headaches. Just be sure to implement strong antimalware to offset the slightly elevated security risks.
If you need to run niche virtualization, emulation, or antimalware software, memory integrity can definitely cause conflicts. Try toggling it off if your programs experience unexplained crashes or freezes after enabling the feature.
How do I enable memory integrity on Windows devices?
To enable memory integrity on Windows devices with supporting hardware throughout an enterprise, use any of these options: Memory integrity can be turned on in Windows Security settings and found at Windows Security > Device security > Core isolation details > Memory integrity. For more information, see Device protection in Windows Security.
Does core isolation work on Windows 10?
Core isolation is a revolutionary technology tool for Windows 10 and Windows 11. By default, Core isolation’s memory integrity feature should already be active and ready to use on your PC. Do you have a different method to enable Core isolation on Windows?
For most general home and office use, activating memory integrity poses low risk provided your hardware and software are relatively current. Reboot after changing the setting to detect any potential driver incompatibility issues.
Enabling and Disabling Memory Integrity
You can toggle memory integrity on or off through Windows Security:
-
Open Windows Security and select Device security.
-
Choose Core isolation details and expand Memory integrity.
-
Toggle the switch to On or Off as desired.
-
Restart your PC for the change to fully take effect.
Alternatively, use the Registry Editor to modify the MemoryIntegrity value at HKEY_LOCAL_MACHINE\SYSTEM\CurrentControlSet\Control\DeviceGuard. A value of 0 disables memory integrity while 1 activates it. Again, reboot after making registry tweaks.
The Future of Memory Integrity
Memory integrity will only grow more prevalent as virtualization-based security sees wider adoption. Microsoft also continues refining the feature to boost performance and compatibility.
How do I disable core isolation memory integrity in Windows 10 & 11?
Download Enable or Disable Core Isolation Memory Integrity in Windows 10 & 11 from MajorGeeks, and extract the files. Click Yes when prompted by User Account Control. Click Yes when prompted by Registry Editor. Click OK when prompted by the Registry Editor.
How do I enable memory integrity in Windows 11?
To enable memory integrity, you can use Windows Security, or make a quick edit to enable it via the Windows Registry Editor. Why turn on Core isolation’s Memory integrity? Memory integrity or Hypervisor-protected Code Integrity (HVCI) is a feature under Core isolation that is available on Windows 11.
What is memory integrity?
Memory integrity is a feature of core isolation. By turning on the Memory integrity setting, you can help prevent malicious code from accessing high-security processes in the event of an attack. To learn more about Core Isolation and memory integrity see Core isolation. Your security processor provides additional encryption for your device.
Intel’s upcoming Control-Flow Enforcement Technology (CET) will further bolster memory integrity protections on supporting processors. And Windows 11 leverages hypervisor-protected code integrity (HVCI) to implement similar safeguards across the entire operating system.
For now, carefully weigh the benefits and drawbacks when deciding to enable memory integrity. See how your system responds and tweak as needed to maximize both security and stability. With some prudent testing, most users can benefit from keeping critical Windows processes isolated from unauthorized access.
References
- https://support.microsoft.com/en-us/windows/device-protection-in-windows-security-afa11526-de57-b1c5-599f-3a4c6a61c5e2
- https://learn.microsoft.com/en-us/windows/security/hardware-security/enable-virtualization-based-protection-of-code-integrity
How do I enable/disable memory protection in Windows 10?
Click the “Device Security” icon in the Security Center. If Core Isolation is enabled on your PC’s hardware, you’ll see the message “Virtualization-based security is running to protect the core parts of your device” here. To enable (or disable) Memory Protection, click the “Core Isolation Details” link.


